Tickets
Tickets allow attendees to check-in to an event and redeem their tag.
Tags are applied the appropriate entitlements (Packs, Accesses) according to the Ticket Type settings.
Alternatively, you can also use create a station to Validate Tickets without issuing tags.
Glownet allows you to centralize all ticket sales from any number of sources.
Tickets can be imported manually by uploading CSVs OR automatically by:
- by selling tickets with Glownet Agora,
- by API,
- by using an integrated ticketing service provider
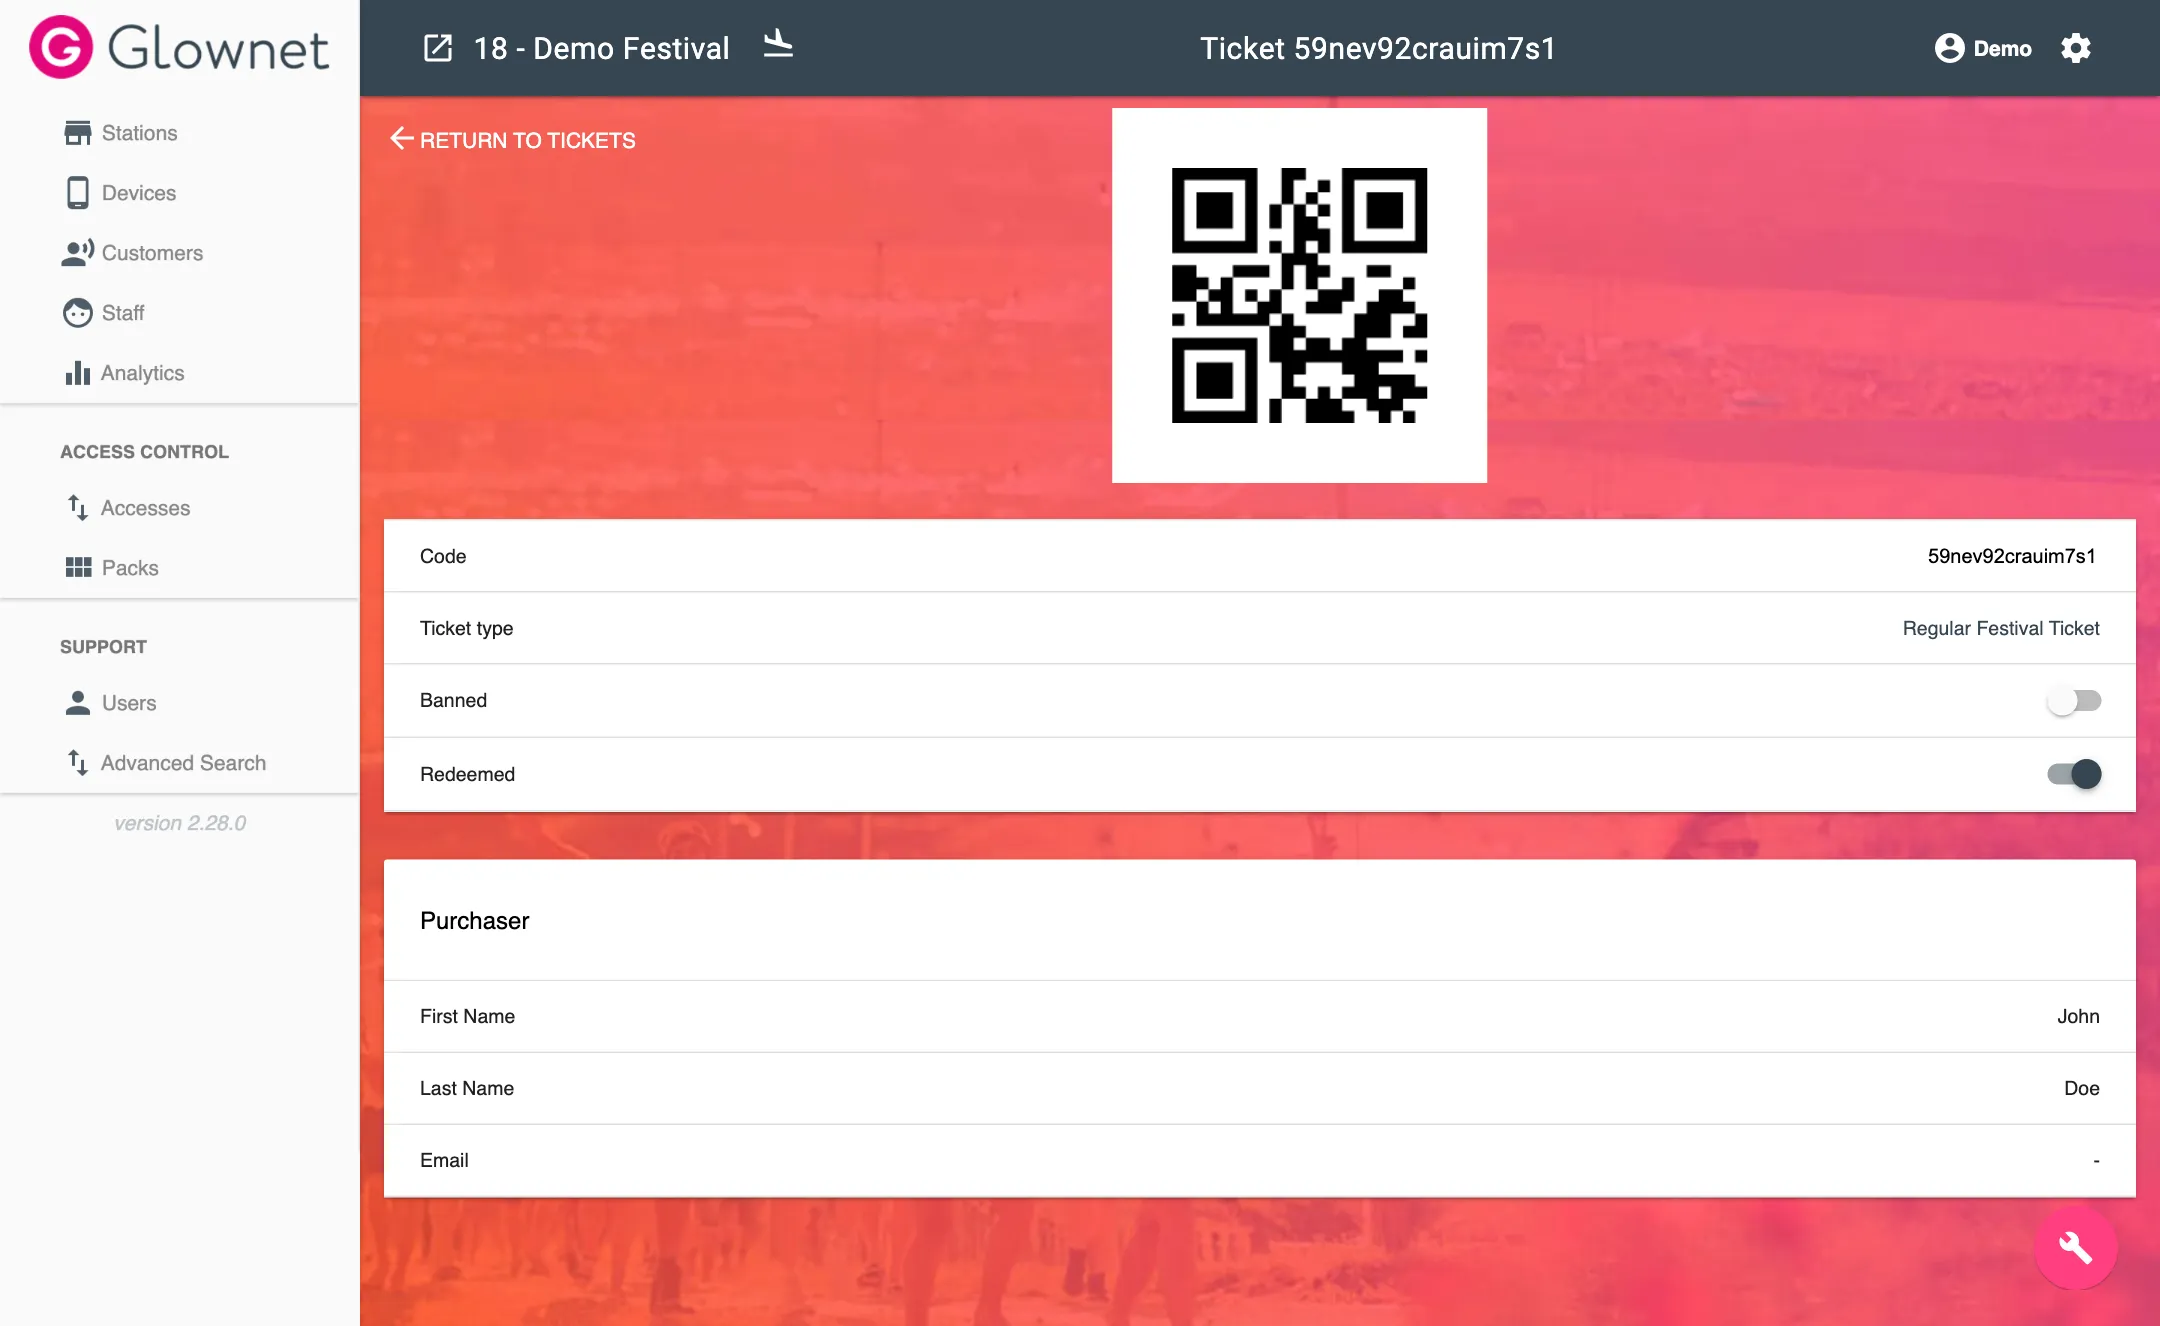
Ticket Details
Tickets include the following details:

| Ticket Information | Description |
|---|---|
| Code* | Ticket number or reference |
| Ticket Type | Ticket Type of the ticket |
| Purchaser First Name | First Name of the purchaser |
| Purchaser Last Name | Last Name of the purchaser |
| Email of the purchaser | |
| Banned | Can be toggled on and off to ban or cancel the ticket |
| Redeemed | Can be toggled on and off to mark the ticket as redeemed (Checked-in) |
Ticket Overview
To view all your tickets:
-
Select Customers or Staff icon in the sidebar.
-
Click on tickets
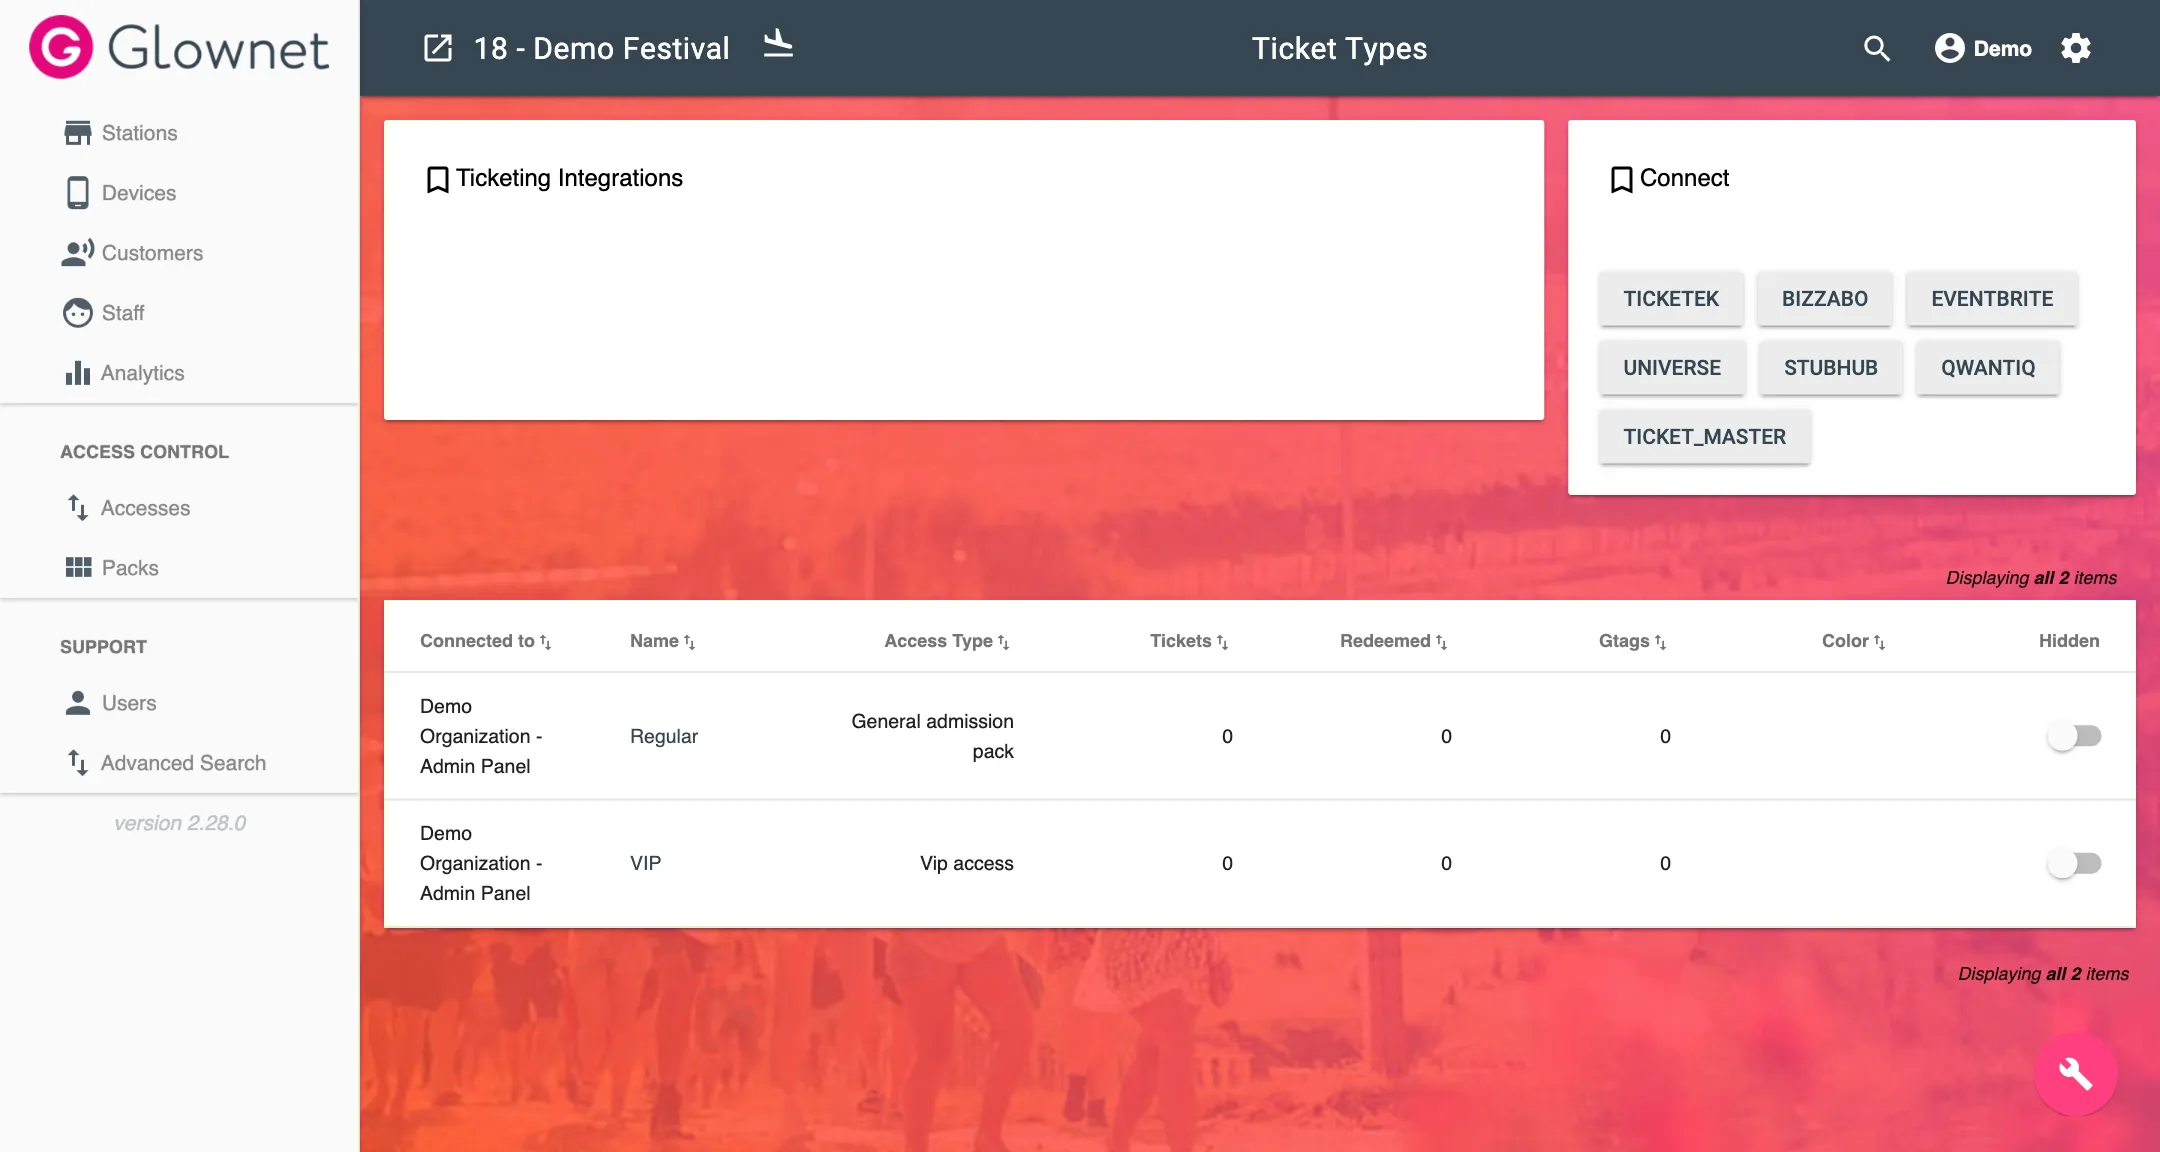
The tickets overview will list all tickets along with the name of the purchaser or customer, the credential type and the redemption status of the ticket.
View a Ticket
-
Go to your tickets overview or Search
-
Click the ticket you would like to view.
Add a Ticket
You can manually add tickets.
-
Go to your tickets overview
-
Click on the New icon from Action Menu in the bottom right.

-
Select the ticket type and input the ticket’s Code/Reference and purchaser’s First Name, Last Name and email as necessary.
You can immediately create a banned or redeemed ticket if necessary blocking the specific ticket from being checked-in.
Edit a Ticket
-
View your ticket.
-
Click on the parameters you would like to edit to change their value.
Delete a Ticket
Tickets cannot be deleted after they have been created. They can be edited banned or marked as redeemed instead.
Ban a Ticket
-
View your ticket.
-
Toggle the Banned status of the ticket to on

Redeem a Ticket
-
View your ticket.
-
Toggle the Redeemed status of the ticket to on
Import Tickets
Tickets must be imported as Comma Separated Values. Make sure to prepare your data in your favorite spreadsheet editor as required and save the file as a CSV (UTF-8).
You may download a sample CSV for reference when you click on import tickets.
The CSV must contain the following columns and headings:
| company | ticket_type | reference | first_name | last_name | banned | |
|---|---|---|---|---|---|---|
| Ticket Company 1 | VIP Night | 0011223344 | Jon | Snow | jon@snow.com | true |
| Ticket Company 2 | VIP Day | 4433221100 | Arya | Stark | arya@stark.com | false |
-
Go to your tickets overview
-
Click on the Import icon from the Action Menu in the bottom right.
-
Choose your CSV file and click on Submit.
Export Tickets
-
Go to your tickets overview
-
Click on the Download CSV icon from the Action Menu in the bottom right.